Installation
What you need, how to install the plugin, and the first setup. This takes about five minutes.
Requirements
| Requirement | Details |
|---|---|
| Server | Spigot or Paper 1.21 and newer |
| Java | Java 21 |
| Internet | Needed on the first start only (see below) |
| Other plugins | None required. zFrostBoats runs on its own. Three optional add-ons unlock extra polish (see Optional plugins). |
Where to buy
zFrostBoats is a paid plugin. If you do not have the jar yet, see the Download page.
Optional plugins
You do not need any of these to run zFrostBoats. It works fully on its own, and each one just adds something extra. To use one, download it and drop its jar in your plugins folder alongside zFrostBoats; it loads automatically.
| Plugin | What it adds | Download |
|---|---|---|
| FastAsyncWorldEdit (FAWE) | Builds and clears arenas faster. Matters most on big arenas or many matches at once. Without it, the plugin builds in small batches. | SpigotMC |
| PlaceholderAPI | Enables the %zfrostboats_...% placeholders for stats, live match info, and leaderboards in other plugins (scoreboards, tab, holograms). |
SpigotMC |
| PacketEvents | Reads boat steering straight from the client for exact paddle, brake, and reverse. Without it, movement is estimated from boat speed (still playable). | SpigotMC |
Install order does not matter
Drop any of these in the plugins folder and restart. zFrostBoats detects them on start and logs which ones it found.
Install it
- Stop your server. Shut it down fully before adding the jar.
- Add the jar. Drop the zFrostBoats jar into your server's
pluginsfolder. - Start the server once. Let it finish loading, then stop it again. This creates the settings files.
- Start the server again. You are ready to set up a world.
First start downloads a few helper files
The first time the plugin runs, it downloads a few small helper files for the default SQLite storage on its own. This is expected. Just let it finish. After that, no internet is needed. (The MySQL driver is separate and only downloads if you switch storage to MySQL.)
Set up your first arena world
You need to tell the plugin which world hosts matches and mark the area where matches can appear.
- Go to the world where you want matches to happen. Pick a large, empty area.
- Set the host world: You get a confirmation message.
- Mark the area. Stand at one corner of the region and run: Then walk to the opposite corner and run it again. The second run saves the area. Walk far. The two corners must be far enough apart to hold a whole arena plus a buffer around it. With the default arena size that is at least about 170 blocks apart in both directions (X and Z). If your area is too small, the plugin warns you the moment you set the second corner and tells you the minimum size it needs, so you can widen it and try again.
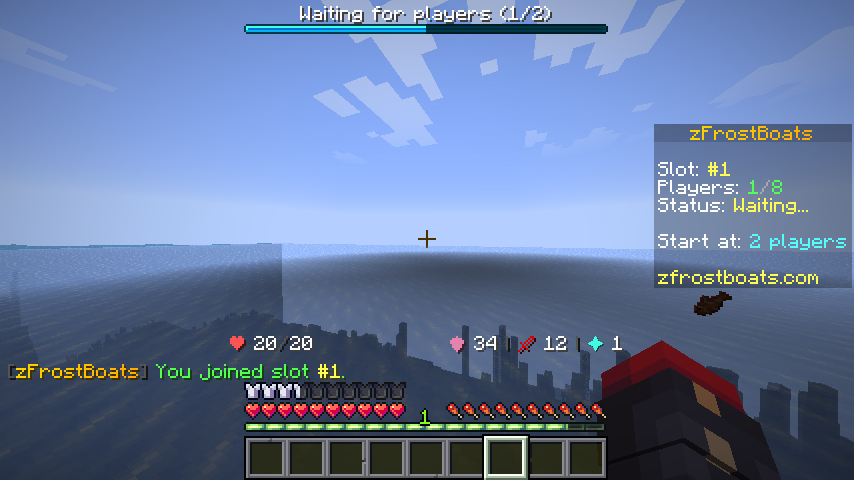
- Done. Once the area saves with no too-small warning, players can join with
/zfb join.
This setup is one-time
The world and the marked area are saved in config.yml and survive plugin
updates and restarts. You never need to run setworld or setbounds again
unless you want to move the arena area. Worlds managed by Multiverse or a
similar plugin work too, even if they load after zFrostBoats starts.
Make the area big enough
Each match needs room for a full arena and a buffer. If the two corners are too
close, no match can fit: /zfb admin setbounds warns you right away, and
/zfb join will say the area is too small. A wide, open region avoids this and
gives the cleanest result. The plugin spaces matches apart and can stack them
above each other if space runs low.
Your plugin folder
After the first run, the plugin folder looks like this:
plugins/
└── zFrostBoats/
    ├── config.yml        # all settings
    ├── styles.yml        # your named color styles
    ├── stats.db          # player stats (SQLite default)
    └── lang/
        ├── english.yml
        ├── french.yml
        ├── german.yml
        ├── spanish.yml
        └── italian.yml
Next steps
- Configuration: change arena size, ice feel, and win rules.
- Commands: the full command list.
- Permissions: who can use what.